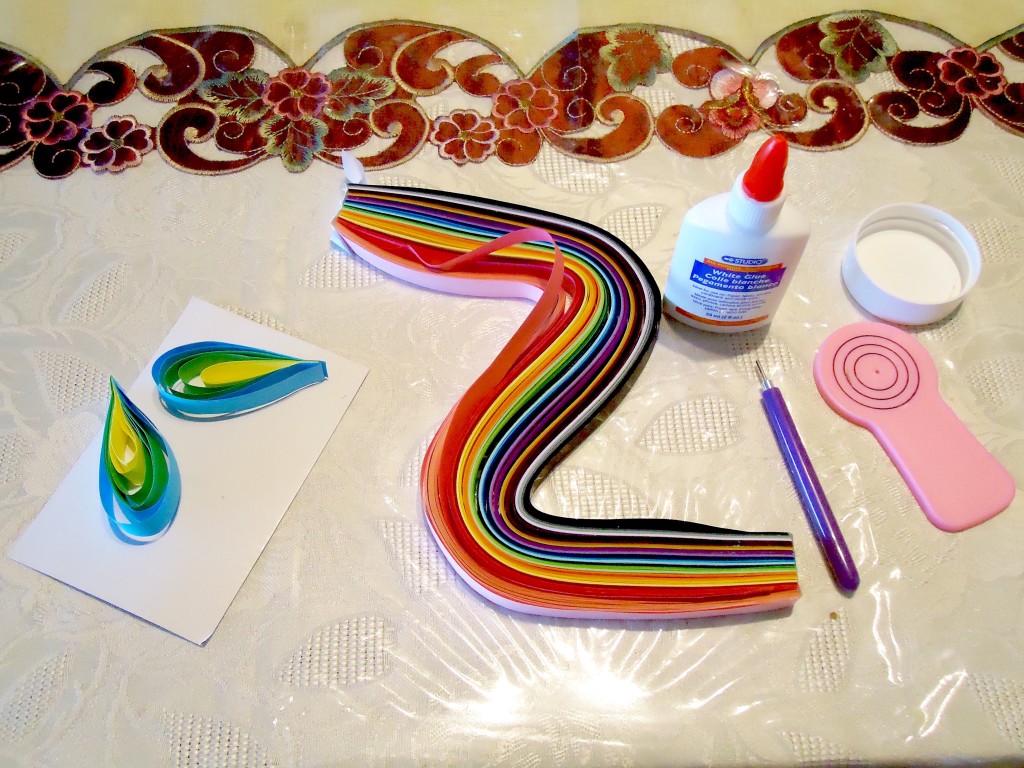
This post about Quilling is in response to a question I had on Facebook “What’s involved?” You need strips of paper in different colours, a quilling tool (with purple handle in photo below) and glue. A pair of scissors would be handy – although you could easily tear off the paper. My own experience with quilling is very new. In the condo where I live, we had a Sunday afternoon craft workshop recently and all of us in attendance were introduced to the art of paper quilling. Paper quilling has been around for a long time. “The art of quilling dates as far back as the 16th and 17th centuries when the French and Italian nuns and monks would decorate reliquaries, holy pictures, and frames with quilled pieces.” (Paper Quilling for the first Time) It’s very easy to do and fun. After that introduction to quilling, it was something that I wanted to explore. I found myself online looking for quilling supplies and ordered a beginner’s quilling supply kit. Since then I’ve been having lots of fun.
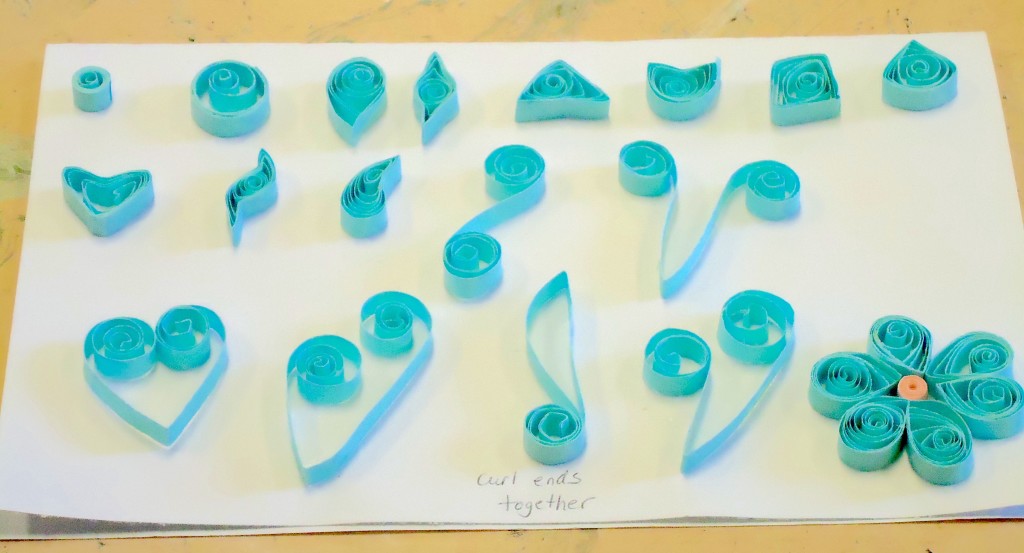
Our teacher supplied us with the basic shapes we needed to learn in order to do quilling and we all had a go at making those. As you can see below, we started with a simple coil and ended up with a flower. All our materials and supplies were provided. Our teacher that day was a retired teacher so we were in good hands. By the way, she wasn’t a quilling teacher. We were all having fun as we sipped tea, ate chocolates, and created together.
Georgia O’Keeffe
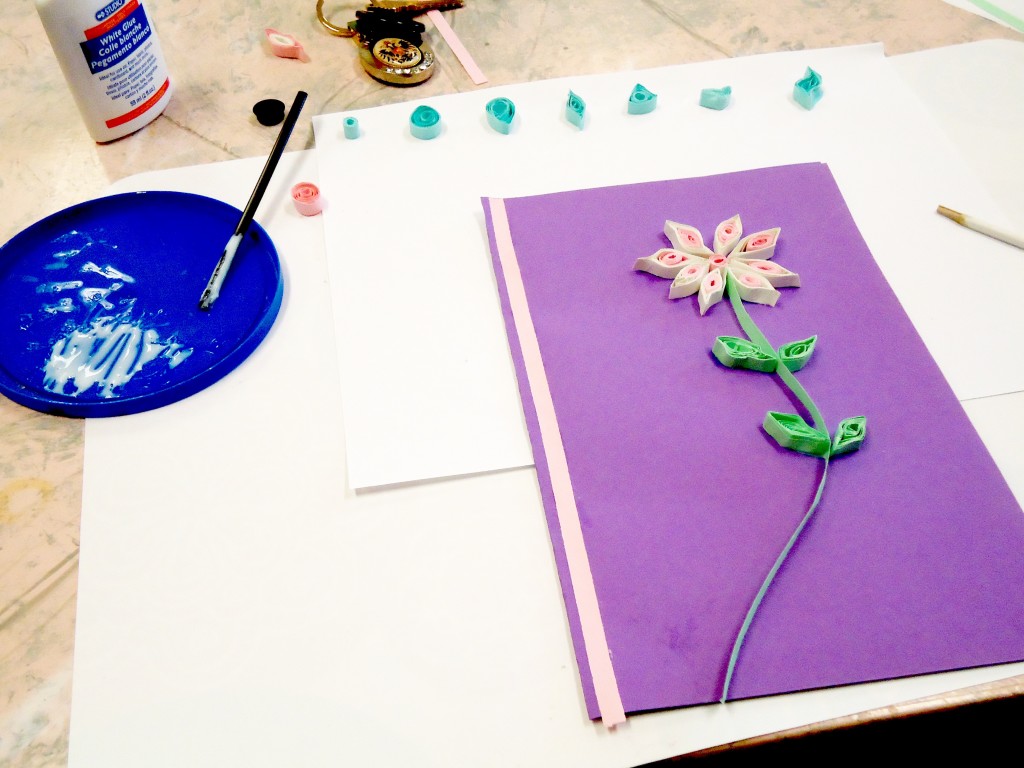
After making as many of the shapes as we could, our wonderful teacher wanted us to make a card that we could take away with us. We were all eager to do this and you can see my first project below. There were many beautiful books on quilling that she suggested we look at for ideas. On the first page of the book I perused, an example was given of how two colours could be used in a flower design. I followed the instruction given and ended up with a pink and white flower. The instruction was simple – glue two different coloured strips together and then twirl them with the tool. By the way, apparently you can use a pencil, chop stick or toothpick if you don’t have the quilling tool. One of the ladies who I met after the workshop was not as ambitious as I was in going out and ordering supplies. She told me she’s using a pencil and toothpick. It’s not necessary to buy paper either as you can use a paper shredder which will give you strips.
― Maya Angelou
In the photo below, you can see that there are different techniques to quilling. Husking is the one I used in the image below. As with all things, there is always a basic level one can stay at or explore all there is to know and experience in any given thing. After doing the basic card, I was ready to try a bigger project. I borrowed books from the library and looked at a few videos on YouTube and was ready to embark on my “big” project.
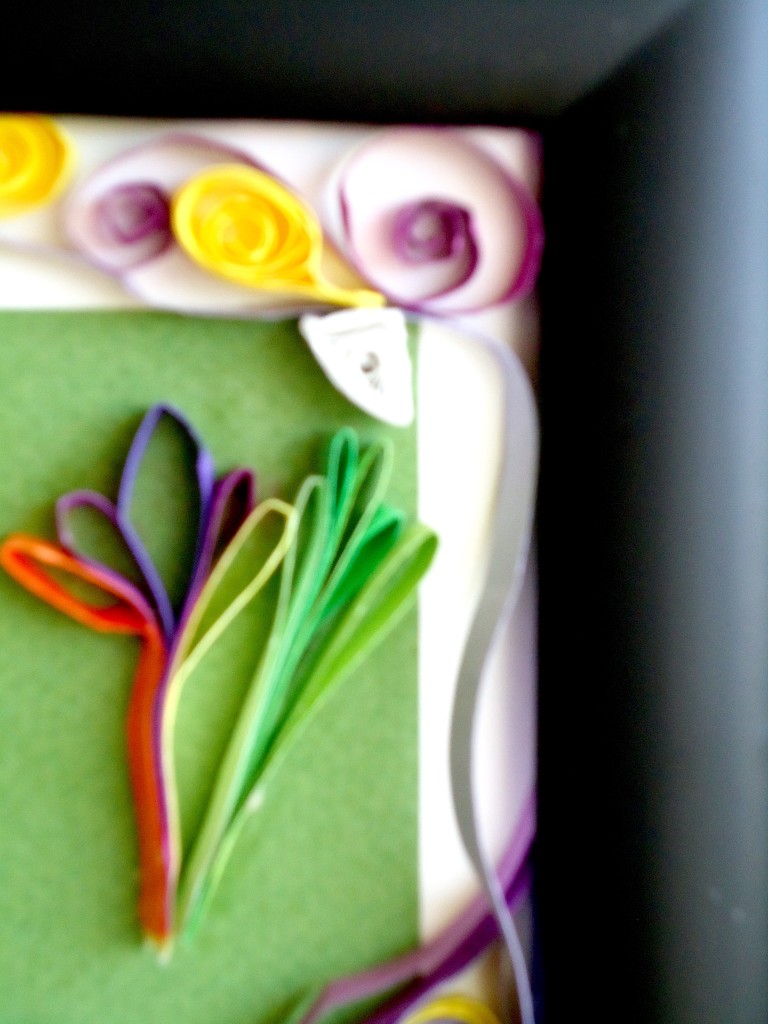
In the image below, I tried joining three colours together.
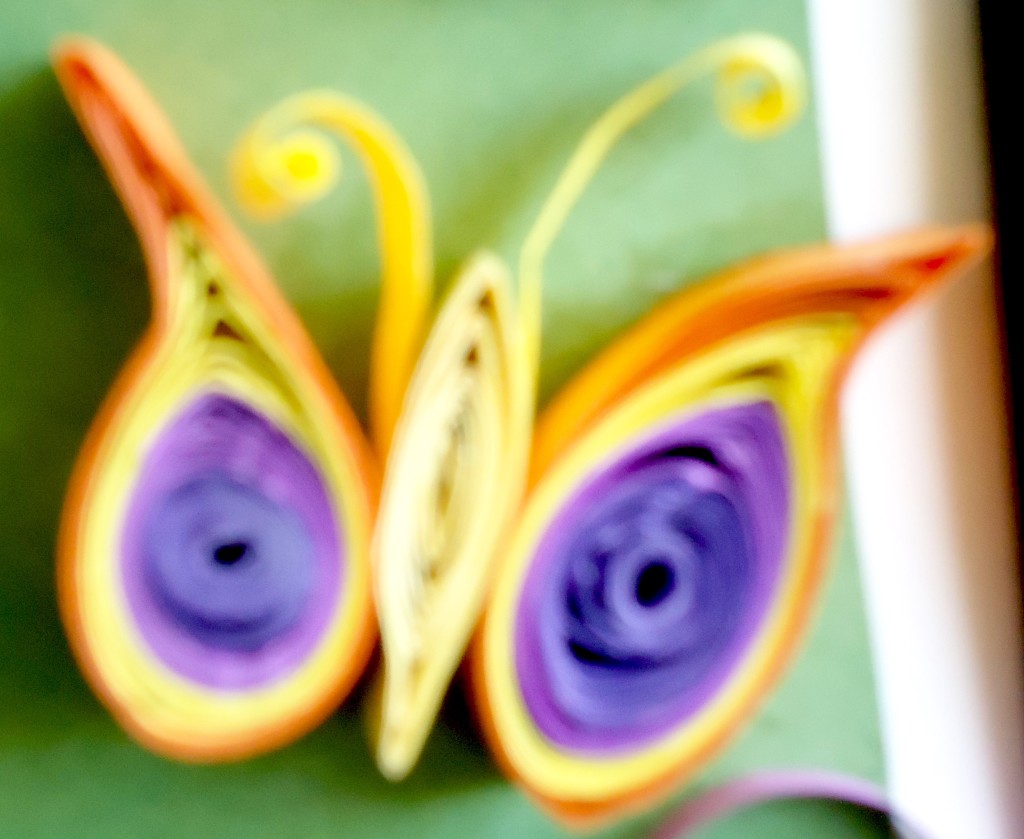
I’m so proud of my butterfly. It reminds me of the freedom I have now that I’m retired and at this stage of life to do things that I never had the time to do or imagined would be fun to do. You too can make a quilled butterfly your very own way. This is just one way to do a butterfly but there are other methods as well. Quilling is a wonderful activity to do with your grandchildren if you have the time and learn the basics.
-Hans Christian Andersen
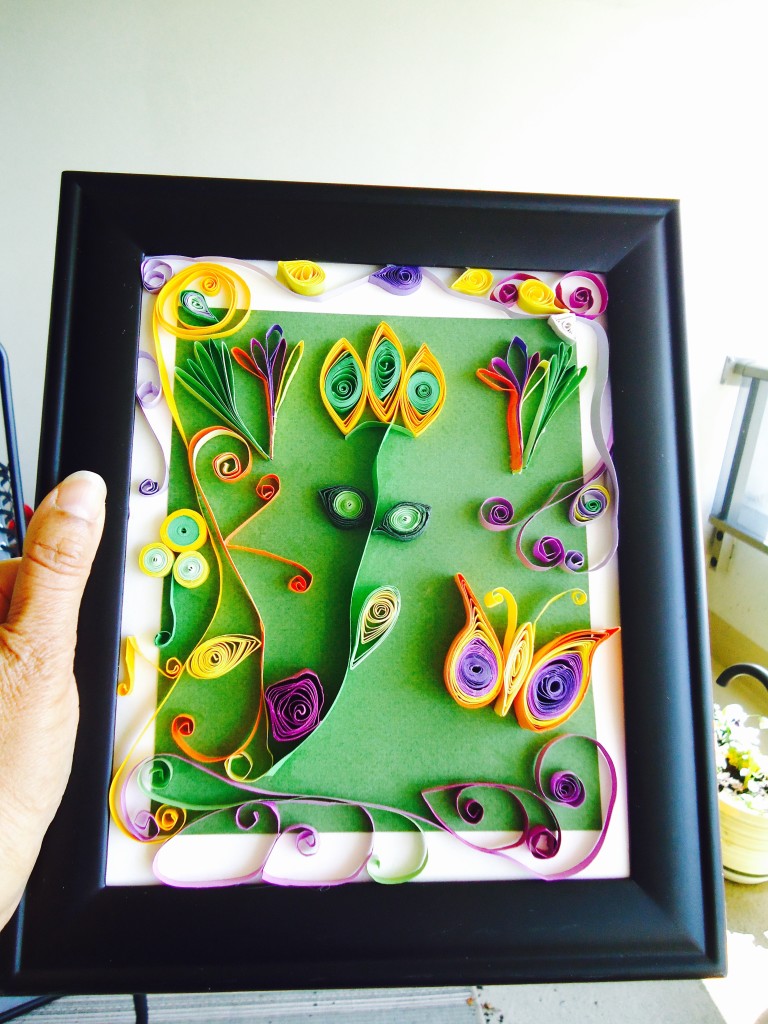
Below, you can see my completed project, which was lots of fun and was a means of creatively expressing myself. I don’t know whether you call it Art or Craft or both but it doesn’t really matter. If you are interested in Quilling, you are sure to have lots of fun too. I’m already looking forward to starting my next quilling project. Wishing you good luck in your quilling adventures!
Quick
Unique
Intricate
Leisurely
Likable
Imaginative
Non-violent
Gratifying
Hope you like my Quilling Acrostic Poem too.
